Items for Sale

Showing posts with label quilt. Show all posts

Monday, March 21, 2022

Windy City

Made a quilt for my sister-in-law who is undergoing cancer treatment.   Bought the pattern, Windy City, and fabrics to make it and away I went. Fabric is mostly Cotton & Steel, Strawberry Fields line.
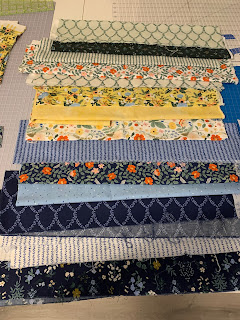

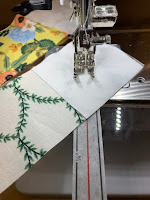
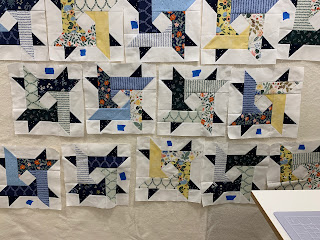
This pattern involves lots of piecing which I enjoyed.  Something very useful for all the diagonal piecing was the Diagonal Seam tape from Cluck Cluck Sew.  It's been sitting in my cabinet for awhile and I decided to give it a try.  A real time saver and accurate too.
My design wall always comes in handy when deciding on layout.  

When it comes to prepping the layers for quilting, I use two folding tables side by side and elastic straps hooked to the legs.  I pin the elastic to the edges of the backing so it's nice and snug.  Lay the batting on top and thoroughly smooth it out.  Then on goes the quilt top and more smoothing. 😀 Finally the pinning begins.
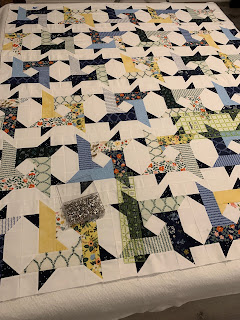
This is probably the biggest quilt I've done on my domestic.  At times, it was like wrestling an octopus, but I got into the swing of it.  Walking foot is a wonderful tool for this type of quilting. 


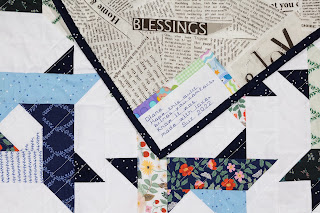
The backing fabric is one of my favorites.  Lots of interesting messages on it.  The label is bordered with bits of fabric from quilts that I've made for her grandchildren.
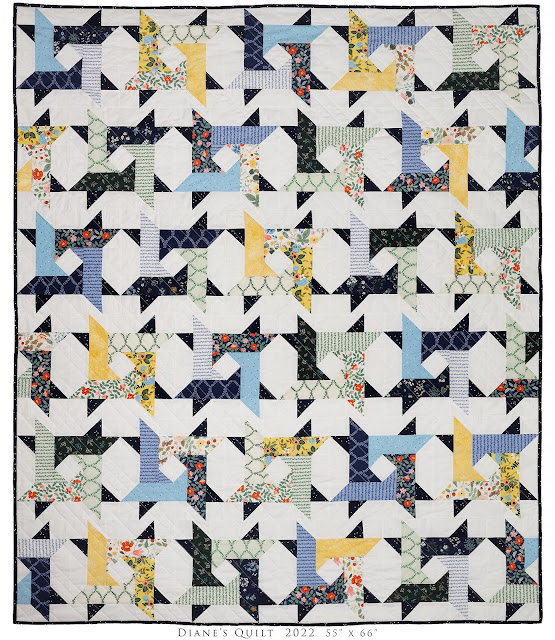
The finished quilt.

Thursday, December 8, 2016

Tango

The Tango quilt pattern from Cluck Cluck Sew caught my eye on a visit to Mad About Patchwork  in Richmond, Ontario earlier this year.  With pattern in hand, I and the helpful gal in the store, Katy,  picked fabrics that would work.  I also picked a wideback material - Kaffe Fassett Wide Circles in Black, something a bit different.  I love using wideback fabric as it makes it so much easier for the backing.  Mad About Patchwork has an online store, but it's a real treat to get to see and feel the fabrics they sell. 


So with fabric and pattern in hand I headed home to begin the project.  The pattern had good instructions and the color combinations were fun to match up.  I started off cutting individual strips as the pattern suggested but soon found a slight problem.   Some of my fabrics had a bit wider than usual selvage edge (with the name of the company and fabric name) and this ended up giving me less than 40" of usable WOF.  A bit of a nuisance.  So a piece of advice for anyone working with the pattern -  get an extra few inches to make up for this.

Other than that slight problem, I enjoyed working with this pattern.  It worked up fairly quickly and was a real splash of color.  

The striped binding (also suggested by Katy) was a great idea! 

The quilting design I chose was Meander.  It was done by a local long arm machine quilter who always does great work.

This quilt is for my granddaughter - I hope she enjoys it.

Saturday, November 26, 2016

Lego Quilt


My grandson loves Lego Ninjago and when I decided to make his quilt I knew that had to be the theme.  I didn't want the actual characters in the quilt (assuming fabric is even available for Lego Ninjago), but I wanted to replicate the colors used in the sets.  

I purchased Ohio Stars in Solids from Lorna McMahon at Sew Fresh Quilts.  The bold solids and pattern mix of Ohio Star and the 9 patch appealed to me.   Using the handy Palette Builder site,  I chose Kona solids in colors that matched the Ninjago Lego figures. 

  
Making some adaptations for block size.  I made 9 1/2 " blocks.  It meant more cutting and piecing but I love the smaller size blocks. I also added some rows.  I calculated the amount of fabric I needed and headed out to Mad about Patchwork in Richmond.  Lots of fun choosing the colors.  The store has a great selection of Kona solids.  They will make up a kit of Kona solids to make a 51" x 51" quilt in other Kona colors which is nice as well.

Here are some of my choices.  I like that fact that they label the colors.  I'll be able to identify any leftover fabric for other projects :)


After choosing the solids, I picked a light grey print in wideback for the backing.  It gave a bit more quiet feeling for the back as I knew the front would be a burst of color.  The binding would be black.

Lorna's blog on this quilt showed her using Accu Quilt which I didn't have.  I cut all pieces by hand and started piecing and within a few days had the top completed.


With backing and quilt top, I went to the gal who machine quilts for me.  We talked about a quilt design and nothing was quite what I had in mind.  I was going to settle for a traditional stitching when she offered to look for something that might work.  By the time I got home, she had emailed me 2 quilt stitch designs.  I was delighted with what she found and I chose one that worked perfectly.  Lego quilt blocks all over the quilt.


I hope he enjoys this quilt for years to come.


Friday, October 7, 2016

Yellow Brick Road Pattern

Sometimes I like a quilt pattern so much I make several quilts from it.  Different color schemes and slight size adjustments can create a new look.   

The pattern I turned to most in 2016 was Yellow Brick Road from Atkinson Designs .  It is  made for fat quarters and has easy-to-follow instructions.  

Directions are provided for several sizes (baby, lap, twin, queen and king) and it makes a good choice for beginner quilters or those who simply like the design.  

Quilts were made for grand nephews on the East and West coasts as well as 2 of my granddaughters.  The quilts will make great keepsakes for them.