Items for Sale

Showing posts with label #happywifequilting #longarmquilting. Show all posts

Friday, January 8, 2021

Conquered Curves


This Polarity quilt pattern caught my eye the minute I walked into Mad About Patchwork in the summer of 2019.  I have always shied away from curves, but with my DH's encouragement to give them a try, I purchased the pattern and material - mostly dark blues and neutrals in Kona solids.  I added only one  dark blue print to the mix.

 
I procrastinated in starting this project and then we moved, delaying the start even more.

Once my new sewing area was set up I decided it was time to give the pattern a go.   No longer allowing those darn curves  - which I had tried a few times over the years - to keep me at bay.

The pattern comes with a template which I copied and put on a firm piece of cardboard for the concave and convex pieces.  I did a few sample runs with some fabric from my stash.  I discovered after this first try,  I'd have to be careful to match the seams and followed some helpful suggestions that the designer, Stacey Lee O'Malley, from SloStudio, had written in the pattern.


Feeling more confident,  I started the cutting process -  first strips, then squares, then cutting the pieces with the template.

I always am a bit hesitant when I start cutting the required strips and find that I don't get the same number pieces that the pattern says I should get from that strip. I make it a habit to wash and dry my fabric before using and this causes a small bit of shrinkage in the fabric.  Most cottons are a 44/45" width with the selvage being part of this width.  It would be great if pattern designers took this into account, as I have run into this problem before.

The wonderful thing was,  I was able to contact Stacey, the designer, and she had some suggestions to overcome this issue.  I appreciate it when a designer is available to offer help.

 
While I was cutting the first of my pieces with the template, I saw that there was a lot of waste from each piece.  So I did some rejigging and found a way to get more pieces from the material.

I watched several You Tube videos for best way to sew concave and convex pieces together.  Many opinions are out there on which is the best method - pins, no pins, some pins.  I went with the many pins method and things went well.  I used a scant 1/4" seam allowance.


Once sewn, each square was pressed and trimmed to 10 1/2".


Once trimmed, the pieces were then placed on the design board (and design floor) 😊


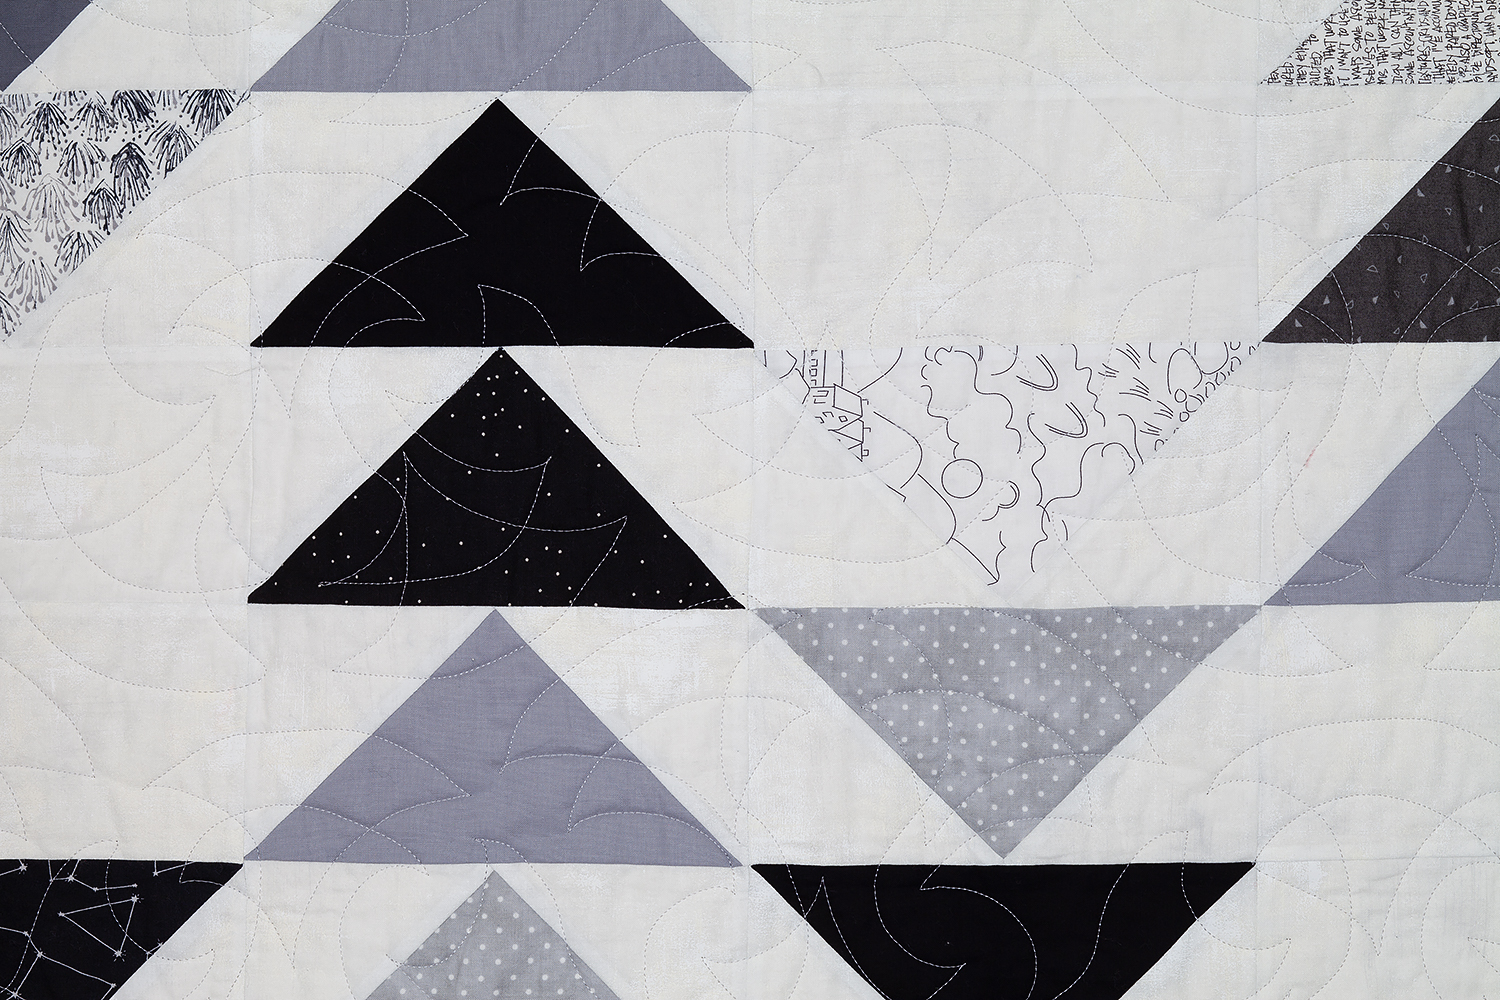
Although the quilt top was finished, I had to wait for a bit before I got it quilted (pandemic and all you know).  The design I chose was Easy Orange Peel and Jen at Happy Wife Quilting did a spectacular job. 


I added a label and chose a binding which was one of the quilt top fabrics (navy blue with small white crosses which show intermittently around the quilt).  And voila, my curved quilt was complete.  


I'm really happy with the final result and so glad I rose to the challenge and conquered curved piecing.


Tuesday, November 13, 2018

Flying Geese Quilt


Fall here in Almonte has flocks of geese flying south for the winter.  Seldom a day goes by without seeing the birds flying in V-shape formation and honking loudly as they continue their journey.  This inspired me to make a quilt based on flying geese.  I saw the Grey Goose Quilt made by Beech Tree Lane .  I loved the symmetry of the flying geese and the shades of grey and negative space.

I wanted to make a much larger size - almost 94" square and use more print fabrics.  Instead of a white background, I chose Grunge in Paper White by Moda.   Mad About Patchwork staff suggested that as an alternative to the white.  It has a bit of grey in it and worked perfectly.

I constructed the flying geese using the 4 at a time, no waste method.  It really did cut down on the waste and I was left with only bits from each block.  
There are lots of tutorials on the internet for the No Waste Method.  Here's one I found quite helpful.
Wing Clipper Tool  I made the blocks without using the tool.


Once all the blocks were made - over 200 of them -  I used my 'design board' to play with placement. 


When I was happy with the placement, I sewed the blocks together in columns.  Then joined the columns, alternating the geese going up in one and down in the next column.
I quilted my quilt using the  longarm machine at Happy Wife Quilting.  Jen's new machine is fantastic.  I chose the Samuri pattern after much hemming and hawing. 
  
The backing of the quilt is Wideback Spackle Newspaper Clipping from Windham.  It's a busy fabric to contrast the simplistic geese pattern.


Finally for the binding, I chose a red with black print.  I was originally going to use a black with very small polka dots, but the red makes for a nice contrast.  Happy with the final result.


Friday, June 15, 2018

Circus Quilt

When I saw the Me & My Sister Confetti fabric I was smitten.  The lively colored collection was just what I was looking for when planning a quilt for another grand niece.


The yellow, green, red, pink, orange, shades of blue and purple colors made this quilt pop. The variation of fabric which included lines, dots, squiggles, triangles added contrast.   I purchased the pattern "Circus" that featured this fabric and went to work playing with colors and layout.  When you work with such 'happy' fabric, it's such fun.

Once the quilt was pieced, I was off to Happy Wife Quilting in Carleton Place to use the long arm.  I chose a design of hearts - simple but suited for this quilt.  The Warm'n Natural batting gave a perfect weight.  The backing was pink polka dots on pink.  

I found the perfect binding at my LQS, The Pickle Dish.  Worked wonderfully with the colors.


The final product looked great.  The violet in the fabric turned out to be serendipitous as that was what she was named!